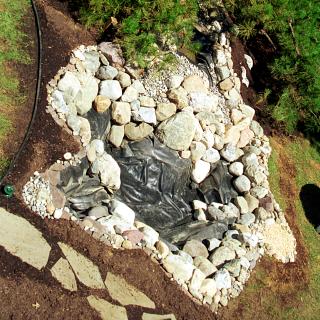
I pumped out all muddy rain water, cleaned up the liner and then went back up on the roof to get this overhead shot.
I pumped out all muddy rain water, cleaned up the liner and then
went back up on the roof to get this overhead shot.
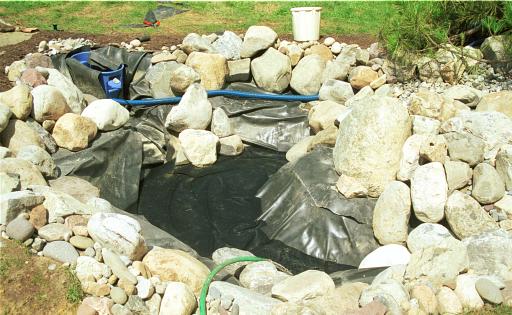
Then I installed the pre-filter. There was no way I was going to pay
$250 for a pre-filter so I bought a garbage can at Walmart, cut a hole
in it, covered it with liner and placed a plant basket with washable
furnace filter stuff inside. This cost about $15 and worked great.
The pump sits at the bottom and you can see the blue hose coming out.
Getting close now. Clean water is in and the grass along the
edge is seeded.
I built a box for the top of the filter. This doesn't look right,
but it'll do until next year. Maybe we'll get one of those fake-rock
covers or something? I dont know.
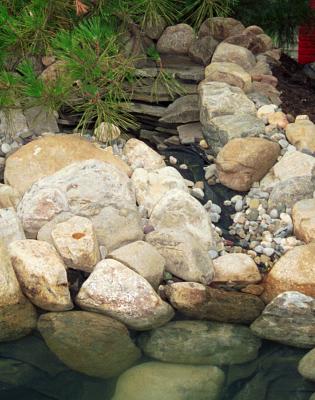
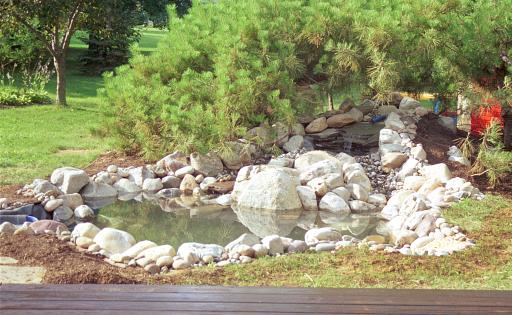
Here is a shot of the waterfall area. The water comes from the back
and rolls over those flat stones into the upper pool. Then, it
splits with about half going to the left and half to the right
of the center stones. You can still see the liner... this has
since been changed to more flat rocks so it looks more natural.
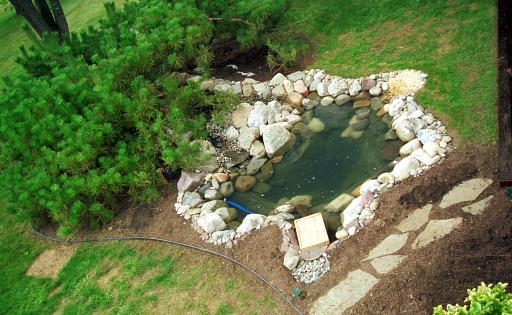
Here is the overhead (roof) shot. In the upper right corner,
you can see the "beach area". That was my wife's idea, a gently-sloped
pebble-filled area for little critters to get a drink or take a bath.
It took no time at all before birds, squirrels and chipmunks all
found this easy-access point!
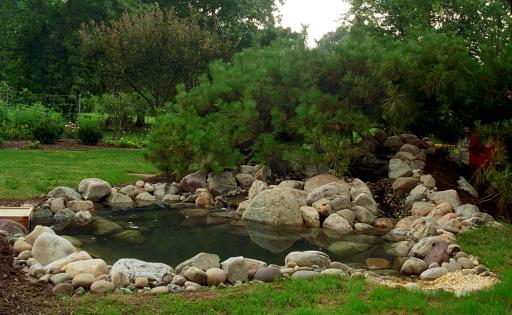
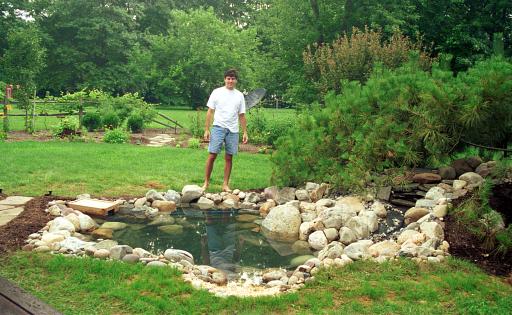
One more shot from the back deck looking at the pond.

